


Is Your Oven Lying To You?
🥵 🥶 A Simple Way To Check The Accuracy of Your Oven + Spiced Hot Chocolate

Hello!
We’ve had a fantastic season for citrus. The mature orange and grapefruit trees that came with our home rewarded us with a big bounty of fruit. Even my tiny 4-foot Meyer lemon dwarf has big bright yellow citrus orbs dangling on its branches. We’ve been (I’ve been) juicing the oranges and grapefruits weekly for Michael, and of all the citrus juicers I’ve owned (and discarded) in my lifetime, this old-fashioned style citrus press is now my favorite. It’s strong enough to crush the fruit to smithereens and extracts every last drop. I also noticed it produced fewer splashes and wasn’t messy.
I’m running a small garden experiment, trying to grow fresh turmeric, and using Resh Gala’s method (do check her book out too). I used to stick the roots directly in the soil, and they would come back year after year, but I think the villainous gophers got to them. This time, I will grow them in pots and avoid that drama. I’ll keep you posted on how it goes, and if you’re up for some gardening fun, join me.


Have a great week,
Nik

🥕🥕🥕 My NEW COOKBOOK, VEG-TABLE, is now named a Best Cookbook of 2023 and is available worldwide! Please check it out, and thank you for your support. If you have a moment to spare, please leave a review for Veg-Table on Amazon, Barnes and Noble, Waterstones, or the many indie bookstores where you purchased the book. Thank you!

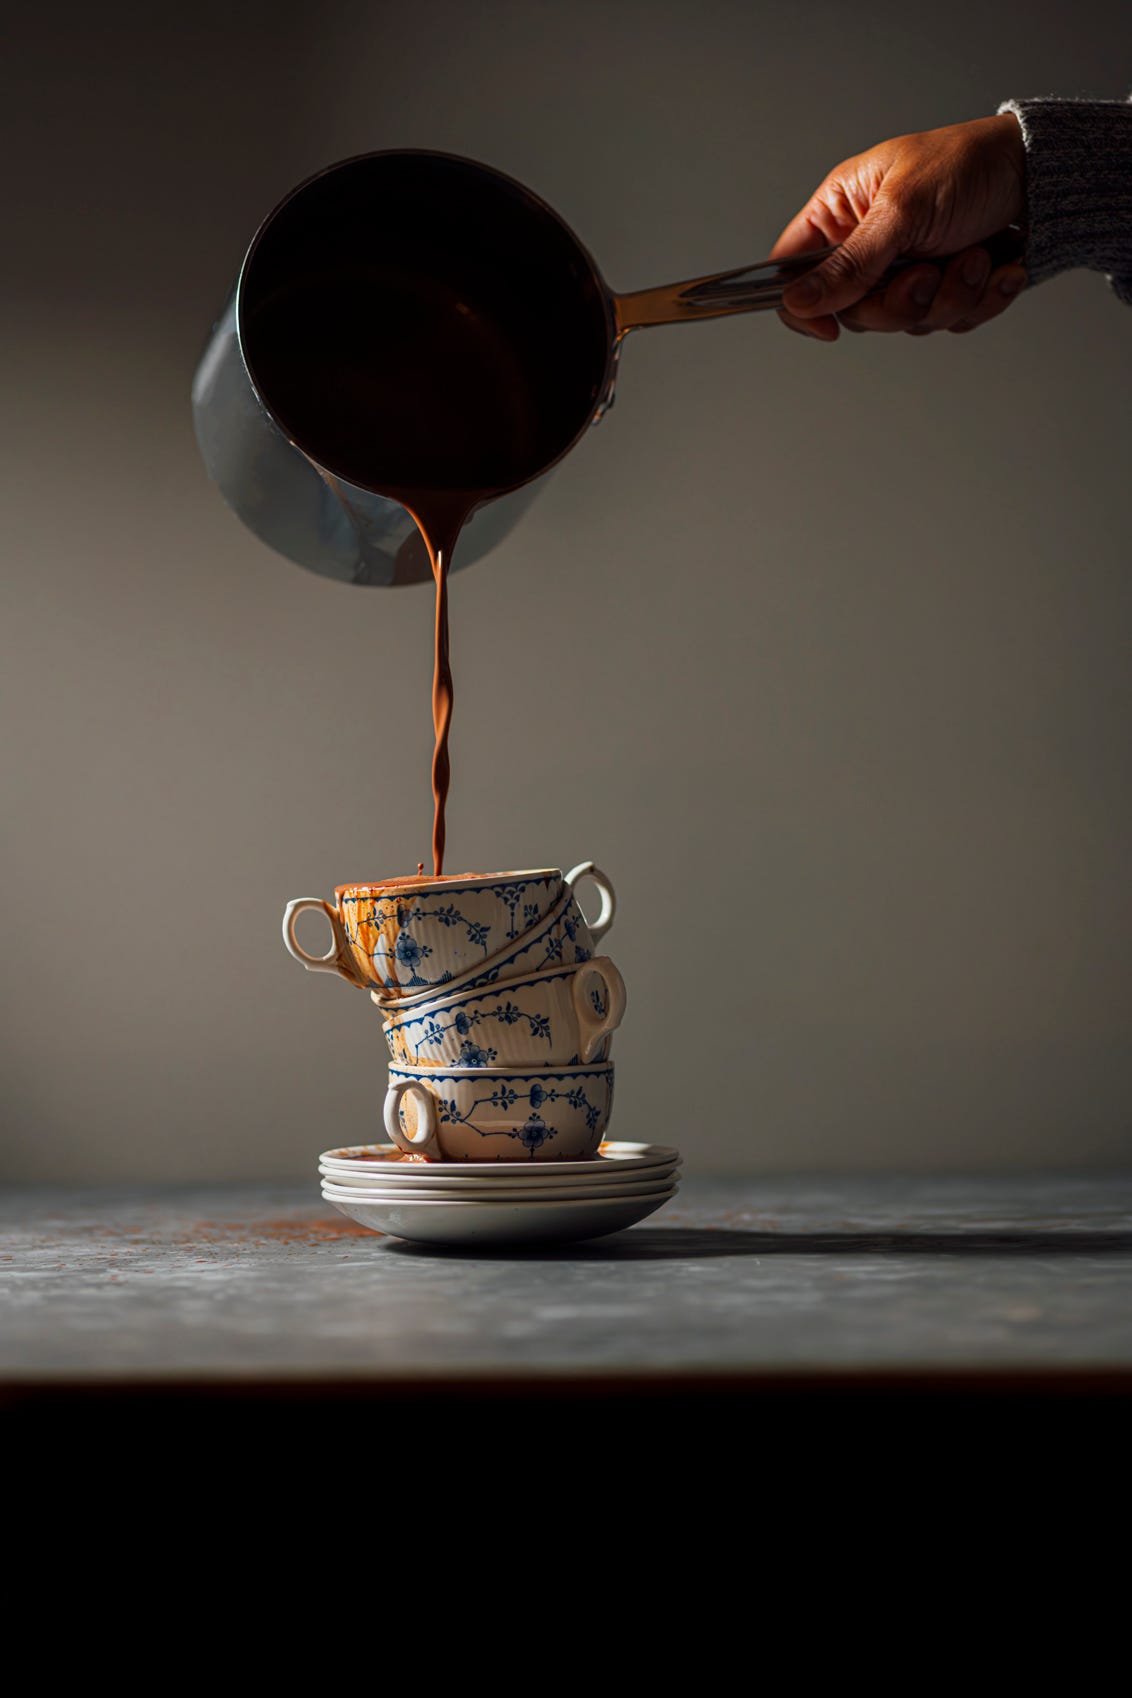
It’s cold enough (even in L.A.) for hot chocolate, especially one spiced as wonderfully as this one, though I’ve never been one to shy away from a cup. The secret to this luscious and velvety chocolate texture is to utilize the fat and starch in the chocolate and combine it with low-fat milk instead of whole. I’ve infused quills of cinnamon, cardamom pods, and crushed black peppercorns to add to the aroma of this drink. Use your favorite chocolate.

Do Ovens Lie?
I’m an avid baker; I quit my job at a pharmaceutical research company because I harbored dreams of being a pastry chef. What I found most mesmerizing about pastry was the transformation of seemingly innocuous ingredients like flour and sugar to something spectacular, a work of art like the opera cake.
I found something else extremely interesting - the infinite number of possibilities, a multiverse. A slight change could lead to an extremely different outcome. An airy sponge cake would rise from a thick emulsified batter when placed in a heated oven for a short period. But it wasn’t always reproducible if I moved to a different apartment or baked it at someone else’s home. Sometimes, I’d need to wait longer for the right color and texture to develop, or I might have to watch out for the cake cooking too fast on the surface while the inside wasn’t fully cooked.
IMO, it’s always a good idea to calibrate the appliances and measurement tools you use to ensure they’re functioning properly and giving you the correct values. Last week, we looked at weighing scales and cup measures and saw how errors creep up. This week, it’s all about ovens. Are the dial and display actually correct?
Before the modern ovens of today, with their fancy touch screens and apps, people would use flour or paper to roughly gauge the temperature of their ovens. If they caught fire quickly, the oven was too hot; if they browned, it was warm enough. Today, we will apply that same principle with a little more accuracy. Of course, you can use an oven thermometer, but what if you don’t trust them or don’t own one and want to be extra confident? Here comes sugar to the rescue.
The melting point of table sugar, a.k.a. sucrose, is 365F/185C. At this temperature, the crystals of sugar will turn into a liquid. We’ll use this fact to see how accurate our ovens are.
What you’ll need: Grab your sugar jar (I used caster/superfine sugar, but granulated will work, too), a few small squares of parchment paper or a small baking dish, a teaspoon, and a baking sheet. Be careful when working with hot sugar; it burns.
Let’s use a standard temperature used in many baking recipes. Preheat the oven to 350F/180C and wait for 15 minutes.
Place a teaspoon of sugar on the parchment paper or baking dish and place it on the baking sheet. Leave it in the oven for 15 minutes. If the sugar melts, it will turn into a liquid, implying that your oven’s temperature is very close to 365F/185C. If it doesn’t, the oven is too cool.
Observations
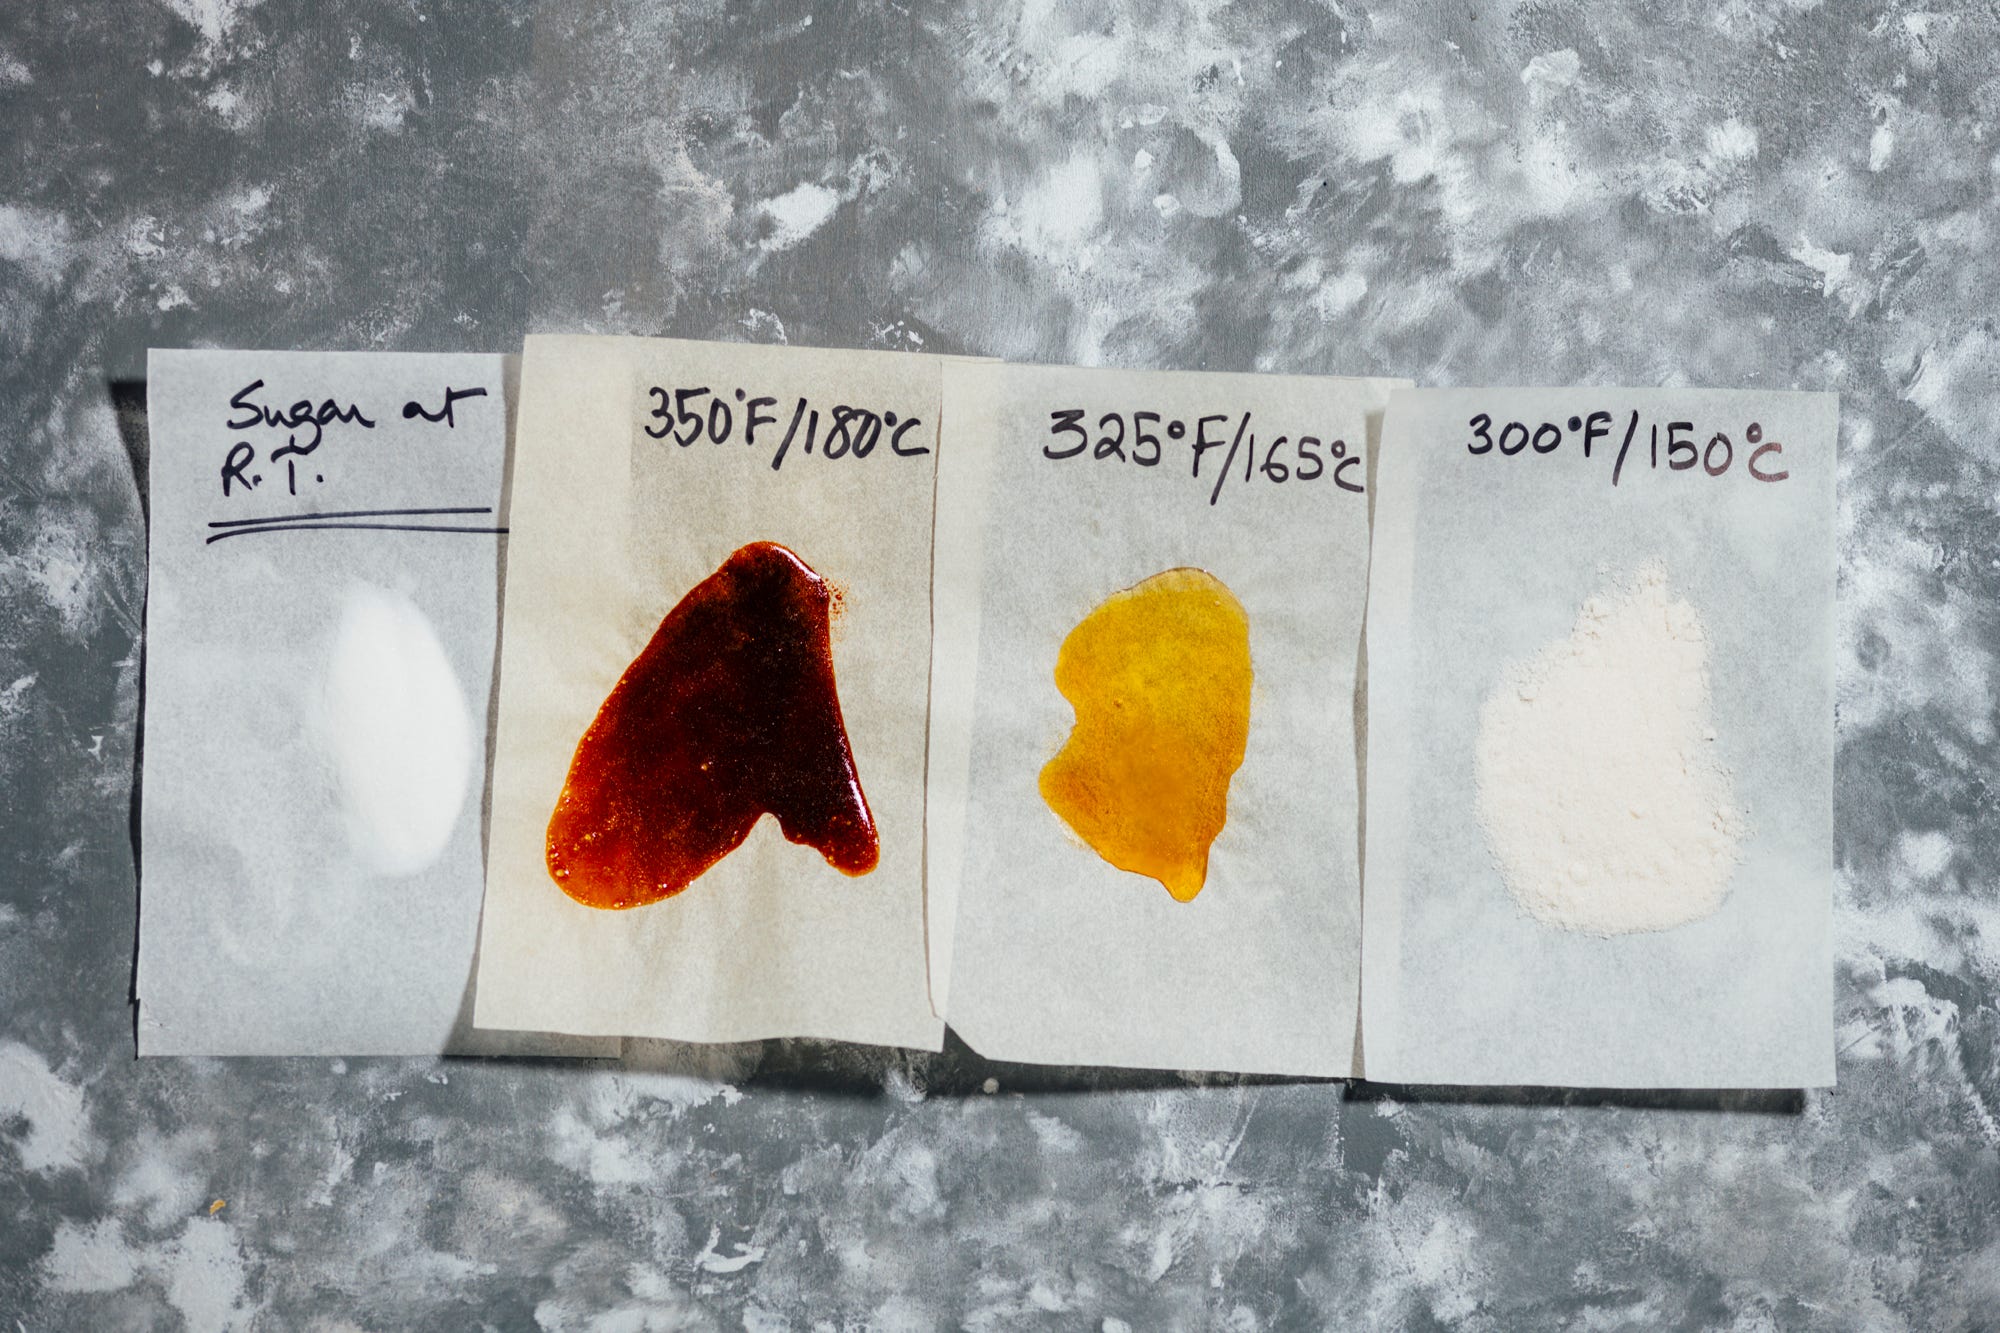
When I did this experiment, my oven was too hot. If you look at the photo, the sugar caramelized into a dark liquid within a few minutes at 350F/180C. I turned the dial to the next lower temperature, which, in my case, was 325F/165C. After I heard the oven beep, I waited 15 minutes before repeating the experiment with sugar and a fresh piece of parchment paper. Generally, giving your oven at least 15 minutes after it says it’s reached the desired temperature is always a good idea. This time, the sugar melted but didn’t turn dark brown. I knew I was very close to the melting point of sugar.
Next, I needed to determine the highest temperature at which table sugar did not melt. I reduced the oven temperature to the next setting, 300F/150C. I gave my oven the 15-minute wait period and repeated the sugar experiment. This time, the sugar didn’t melt. If you compare the color of the sugar crystals to the sugar on the left at room temperature, you’ll notice a slight hint of browning but no traces of liquid.
I now know that;
At 350F/180C - the sugar melted and caramelized - it’s too hot
At 325F/165C - the sugar melted and turned a light golden brown
At 300F/150C - the sugar didn’t liquefy
This means the sugar’s melting point in my oven lies between 325F/165C and 300F/150C. This also implies that my oven dial's 350F/180C setting is closer to 325F/165C. When I bake, I need to remember this: I’ll be better off baking at 325F/165C for a recipe that asks me to bake at 350F/180C. It will reduce the risk of burning and cooking too quickly and unevenly.
My oven is 350F - 325F = 25F or 180C - 165C = 15C warmer, so I’ll need to subtract 25F or 15C. Every time I use my oven, I must reduce the temperature listed in the recipe by 25F or 15C.
What if your oven is too cool at 350F/180C, and the sugar doesn’t melt? Apply the same logic. In this case, increase the oven temperature and repeat these experiments until you find out the lowest temperature at which the sugar melts and the highest temperature at which the sugar remains in crystal form. The lowest temperature setting at which the sugar melts will be close to 350F/180C. Apply the same math I’ve shown in the previous example to determine how high you need to adjust your oven temperature when baking.
The experiments I described above are for the simplest scenario. If your oven lets you adjust the temperature by 10 degrees Fahrenheit (5 degrees Celsius), try that out next. You can get an even closer estimate to your oven's actual 350F/180C.
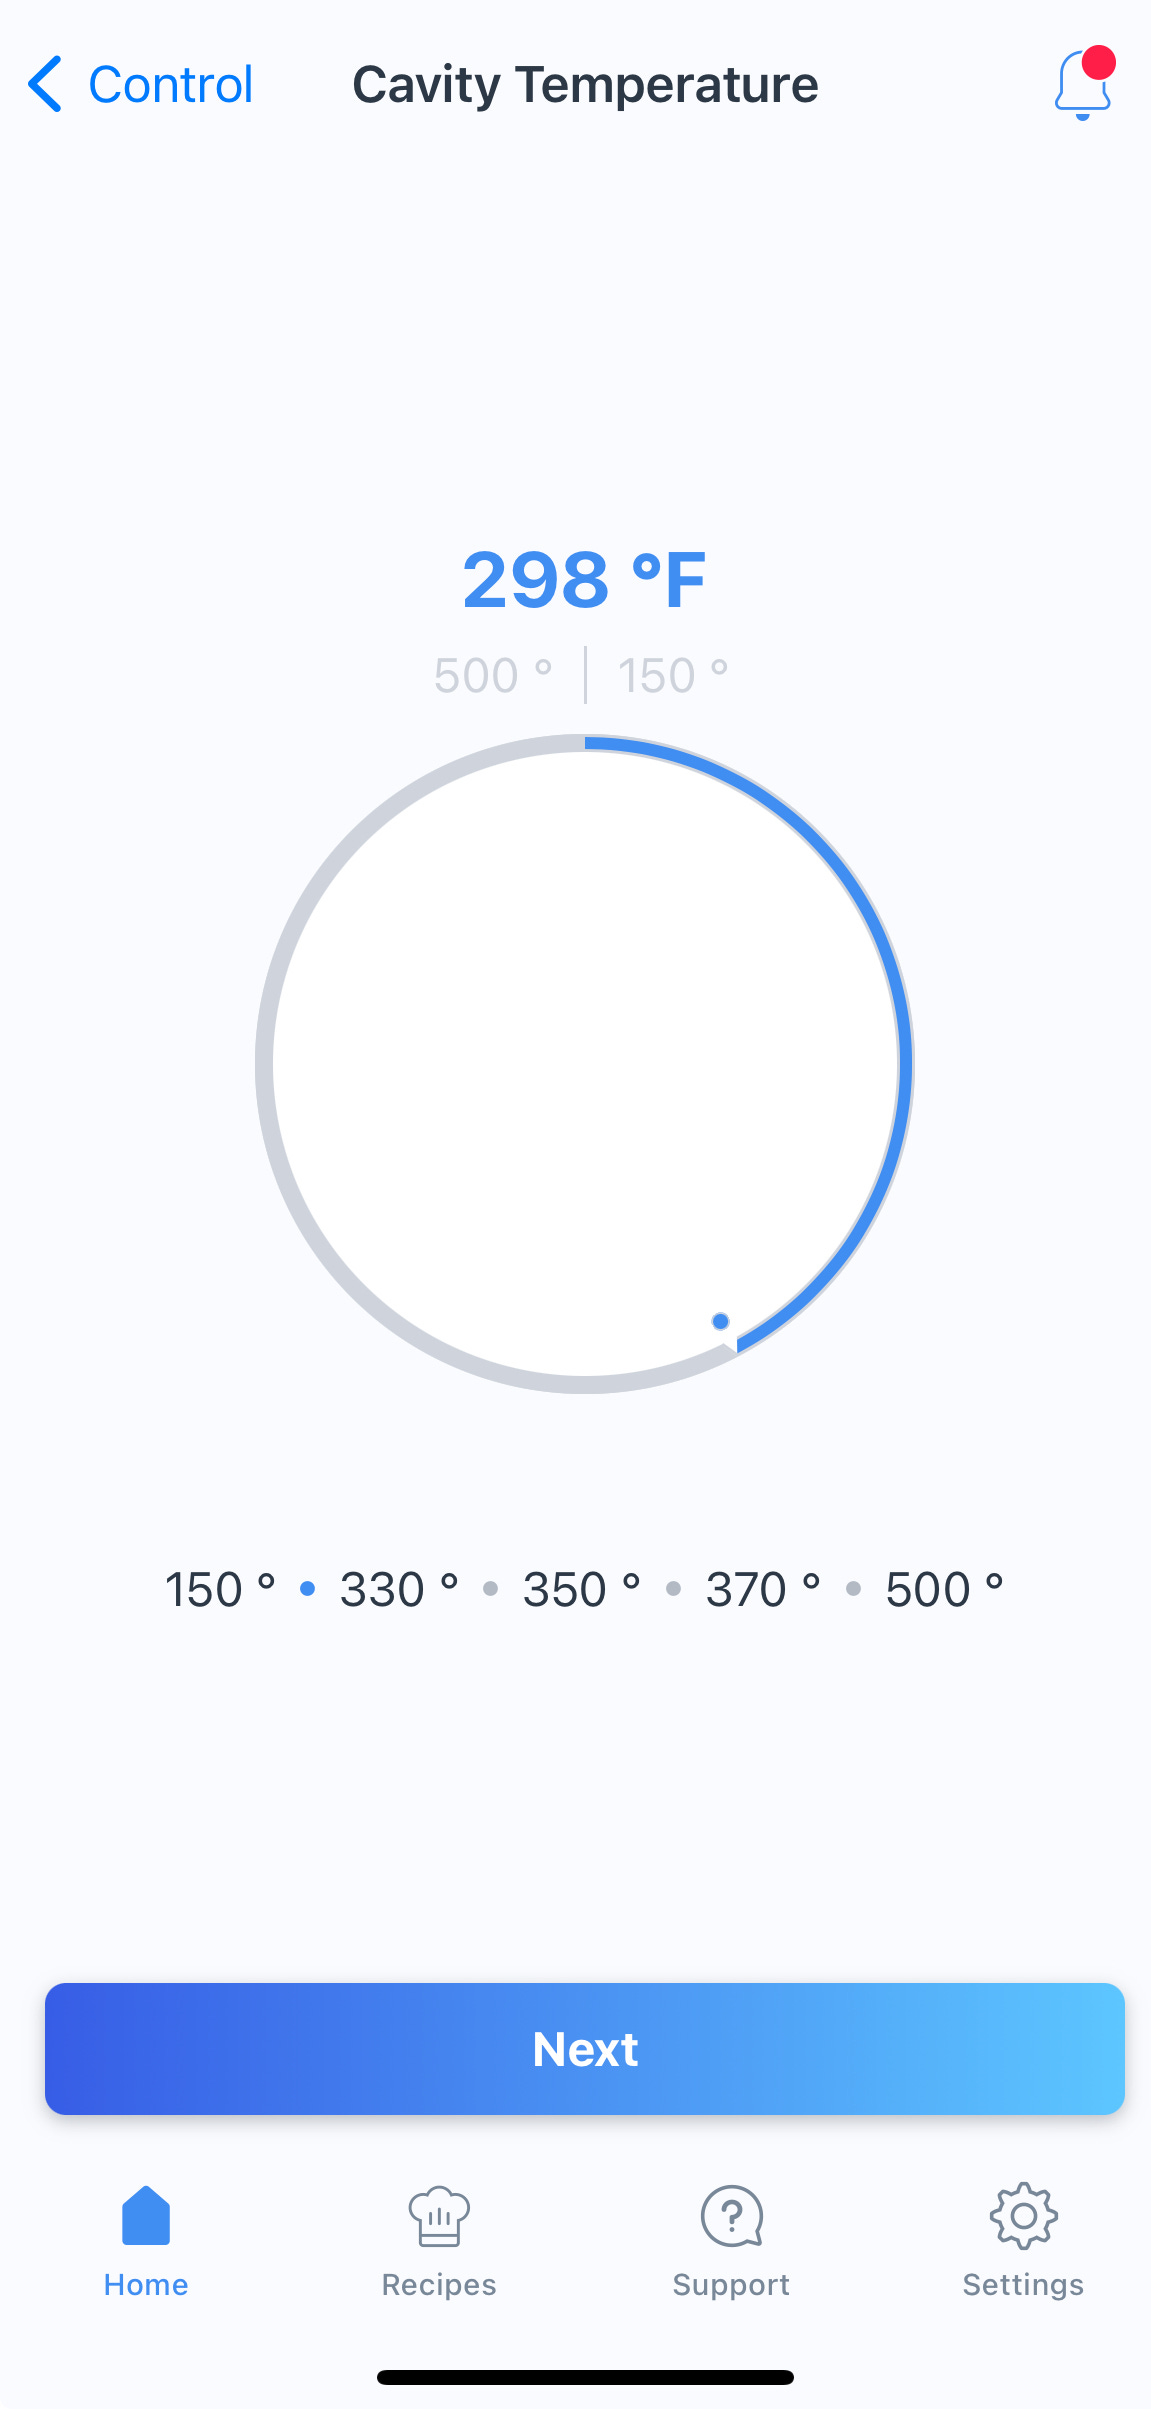
(Note: I can change the temperature by a single degree using the oven’s remote control app on my phone; I wouldn’t go any lower than 5 degrees Fahrenheit when trying to determine the actual 350F setting of my oven.)
Calibrating The Oven
Some ovens will let you take this a step further. I own a Thermador Double Steam Oven, which lets me apply what I learned from the experiment. Once I determine the actual 350F/180C for each oven, I can apply a correction factor in the settings. Based on the example above, my oven is 25F warmer; I’d adjust the oven offset temperature by -25F. If my oven were cooler by 25F, I’d offset the temperature by +25F in the settings.


Alternative Options
There are other alternatives if you don’t want to use an oven thermometer or sugar to determine your oven's accuracy. You can use a cooking thermometer to determine if your cake or bread is baked correctly (usually, I look for 210F/99C for cakes and bread). The problem that could present is that different foods have different endpoint temperatures, and you’ll need a long cheat sheet, e.g., a flan’s endpoint will be different than a cake. Experienced bakers will look at the color and texture of the dish and look for cues to know when the food is ready to be pulled out. Knowing the right aroma, color, and degree of springiness (what kind of resistance it shows to being pressed) will be helpful for a cake or bread. One can stick a knife, skewer, or knitting needle into the center of a cake to see if it comes out clean. I use these cues to determine the endpoint when I’m in the recipe development and testing stages. I won’t lie. These methods require a certain degree of confidence in skill, and that intuition is developed with practice over time. Another important thing to consider with these alternatives is that opening the oven repeatedly to check the temperature or texture will keep cooling the oven down and increase the cooking time.
The next time you use your oven and notice something off, either in cooking time or the dish's quality at the end, heat some sugar in the oven and see if your oven is telling the truth.